
Table of Contents:
Welcome to the field of design, where the scope of your imagination is limitless and the opportunities are boundless. As a designer, you’ve probably seen the number of graphic design software solutions that are fighting for the attention of UX/UI designers everywhere. In the midst of fierce competition, one user-friendly tool—Figma—has been steadily surging to the front.
Figma has recently become the design tool of choice for both beginners and seasoned pros likewise. Designers all over the world have been charmed by its intuitive interface and cooperative tools.
Figma provides a affable and important platform for bringing your creative ideas to life, whether you are a graphic design amateur or a seasoned pro eager to expand your horizon.
However, there’s a learning curve as there’s with any software, especially if you’re new to the scene. We’ll show you the ropes of Figma and help you get up and running with the tool in no time.
What is Figma?

Figma is a popular design tool that you may have heard of if you’re part of the designer community. You may even be using it. Web designers and others have found success using Figma, a design tool that has quickly surpassed Adobe XD, Adobe Photoshop, and Sketch in popularity.
Figma can be used for a variety of purposes. Designing in CMYK is difficult, hence this software is exclusive to digital design. Figma’s primary operations include
- UX/ UI Design Prototyping
- Designing Applications
- Websites
- Presentations
You can also show off your creativity with the help of Figma mockup plugins. These plugins transform real websites into Figma designs and save time on repeating design types by making master templates.
Why Should You Use Figma?
There are numerous features that set this tool apart, here are some of them:
- Internet- hosted documents that help you free over hard drive space
- Fast and dependable performance across online and desktop app interfaces
- Collaborative tools for real- time work
- Figma Mirror, a smartphone app for viewing prototypes, is also available
- Reasonable cost
- Compatible with both Mac and Windows
- Sketch files can be imported( but not vice versa)
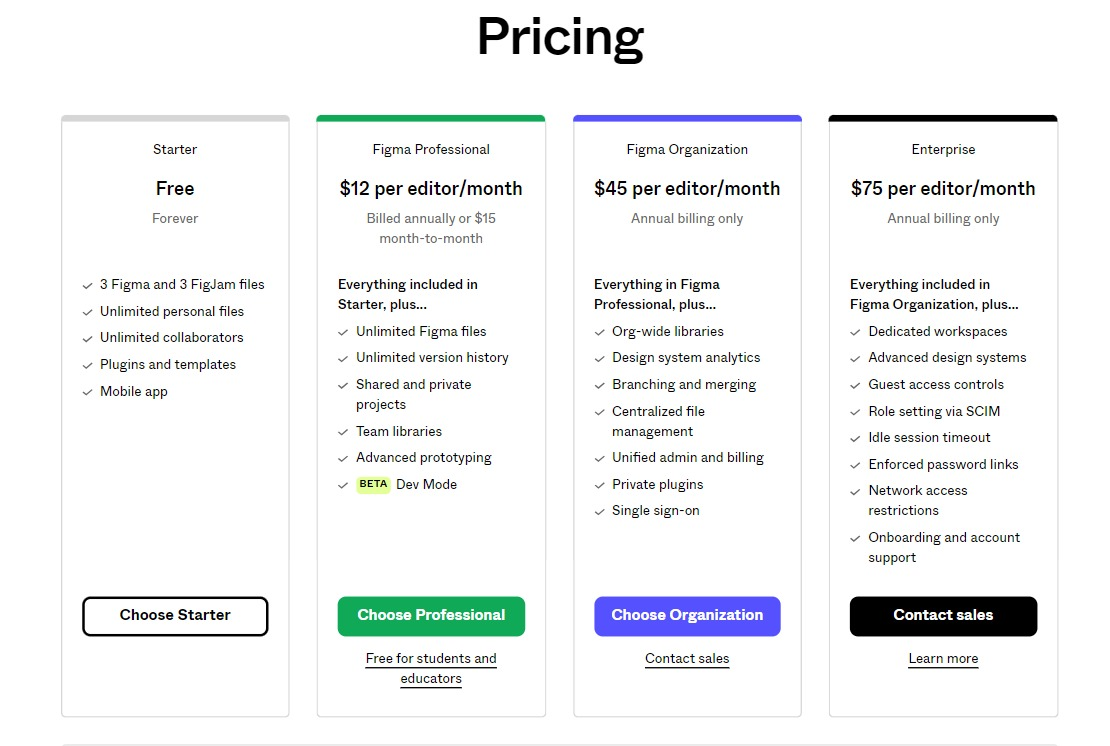
How Much Does Figma Cost?
Creating an account on Figma’s website or in the Figma app is free. All the features of the design software can be used with a free account. Figma and its associated cooperative tool, FigJam, can be used for design.
If you’re just starting out as a freelancer or using Figma as a hobby, the Free Forever version is all you’ll ever need. You can still use Figma on any platform and have unlimited collaborators, particular lines, and access to plugins.
While the free interpretation of Figma is sufficient for most designers, a Figma Professional subscription costs 12$ per month per editor and they can get access to features like inviting peers, using team libraries, accessing limitless Figma files and version history and more. Figma Professional is available at no cost to students and teachers.
What Can You Create With Figma?
Although Figma’s original adopters were product designers, the software’s usefulness extends far beyond the realm of consumer goods. It may be used to make logos, social media postings, icons, collages, marketing materials, and prototypes of user interfaces.
How to Use Figma?
1) Create Your Account
Visit figma.com now and sign up for an account at no cost. Then, click the plus sign next to Design File on the right.
2) Interface
Let’s take a brief peek at Figma’s user interface.
Tools Menu: The design tools you’ll be using are accessible from the left-hand menu. Look around and see what you can find:

- Move tools: You can use these tools to rearrange components on the design canvas. You can use the Move tools to quickly and easily reposition a selected object or collection of objects.
- Region tools : The Region tools are great for making and modifying geometric objects like rectangles and ellipses. These shapes are quite useful for establishing backdrops and dividing off sections on your canvas, and they are easy to draw.
- Shape tools: Do you wish to incorporate more intricate forms into your layout? You can do it everything with the Shape editor. You can make various polygons and stars with them, which is great for polishing up your work.
- Drawing tools: These aids enable freehand drawing, allowing you to express your creative side. It’s simple to doodle, sketch, and incorporate personal touches into your creations.
- Text: The Text tool lets you insert, modify, and format text in your layouts. Get creative with the text box’s fonts, sizes, and colour scheme to make it your own.
- Hand tool: The Hand tool is helpful when you’re focused on a small section of your design and need to move about without losing your zoom level. You can easily navigate your canvas by grabbing it, clicking, and dragging.
- Add comment: The Add Comment function allows you to provide comments on individual design aspects, fostering collaboration among team members.
The left-hand menu is where you’ll discover all of your custom-made layers, assets, and page 1 layouts.
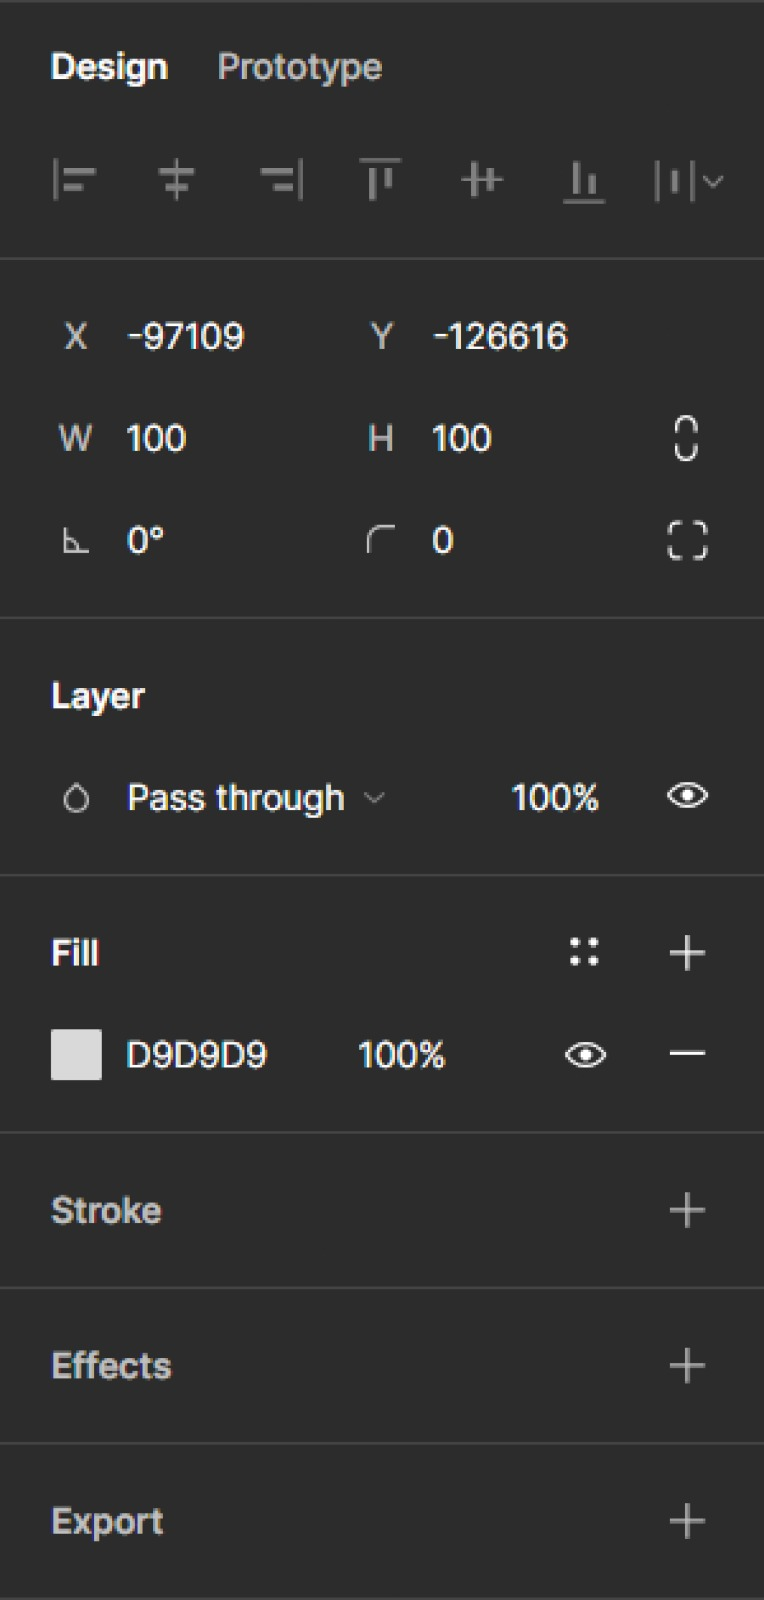
Inspect panel: The values of your work’s properties can be found in the menu on the right. You’ll see there are three separate tabs:
- Design
- Prototype
- Inspect
3) Canvas
When you open a new design file, you’ll see the canvas. In Figma, this represents your entire working area.

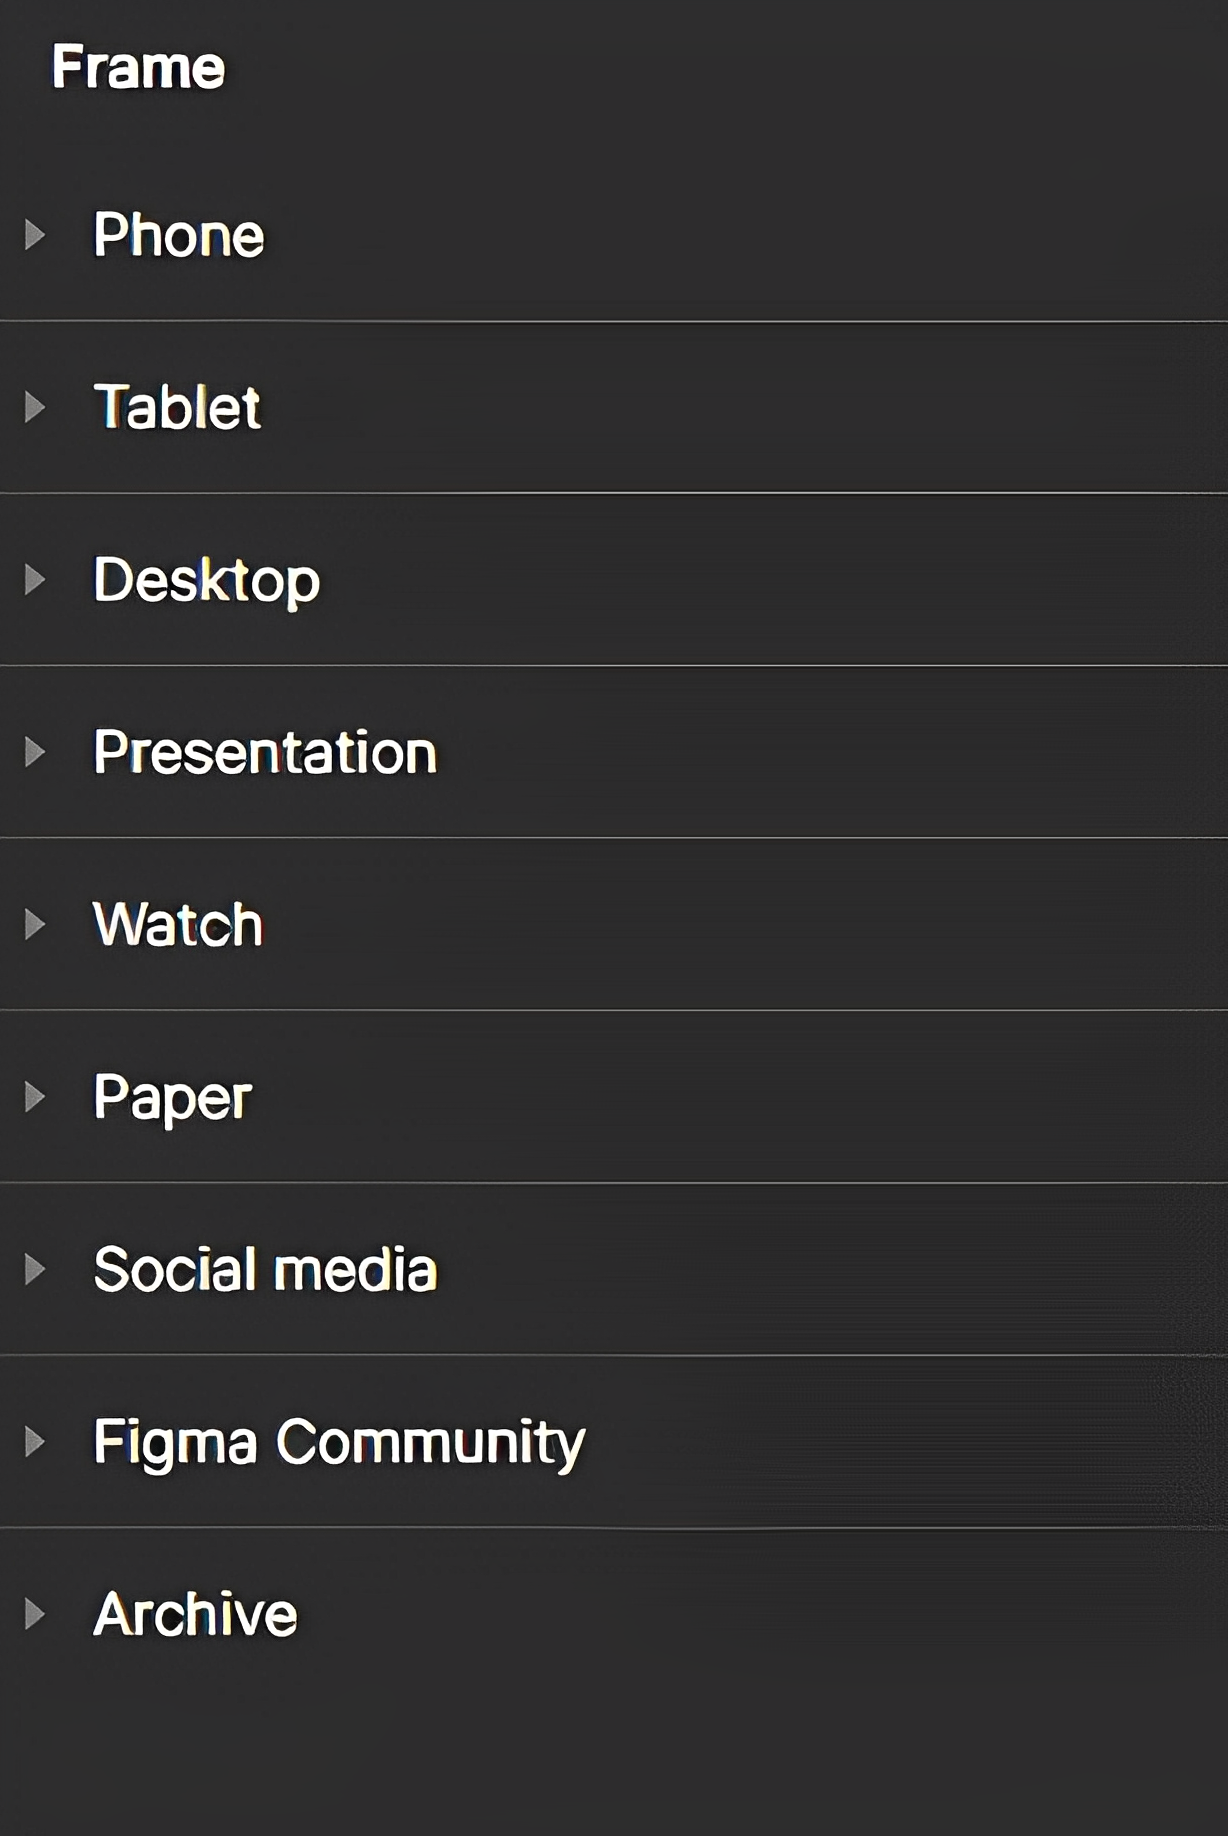
4) Frames
If you’re familiar with the artboards in Adobe’s Creative Cloud applications, then you’ll feel right at home with Figma’s Frames. Select F on the keyboard to make a frame, or go to the Tools menu and select the Frame icon there. Choose from several different available defaults:
- Phone
- Tablet
- Desktop
- Watch
- Presentation
- Paper
- Social media
- Figma Community
5) Vector Shapes and Colours
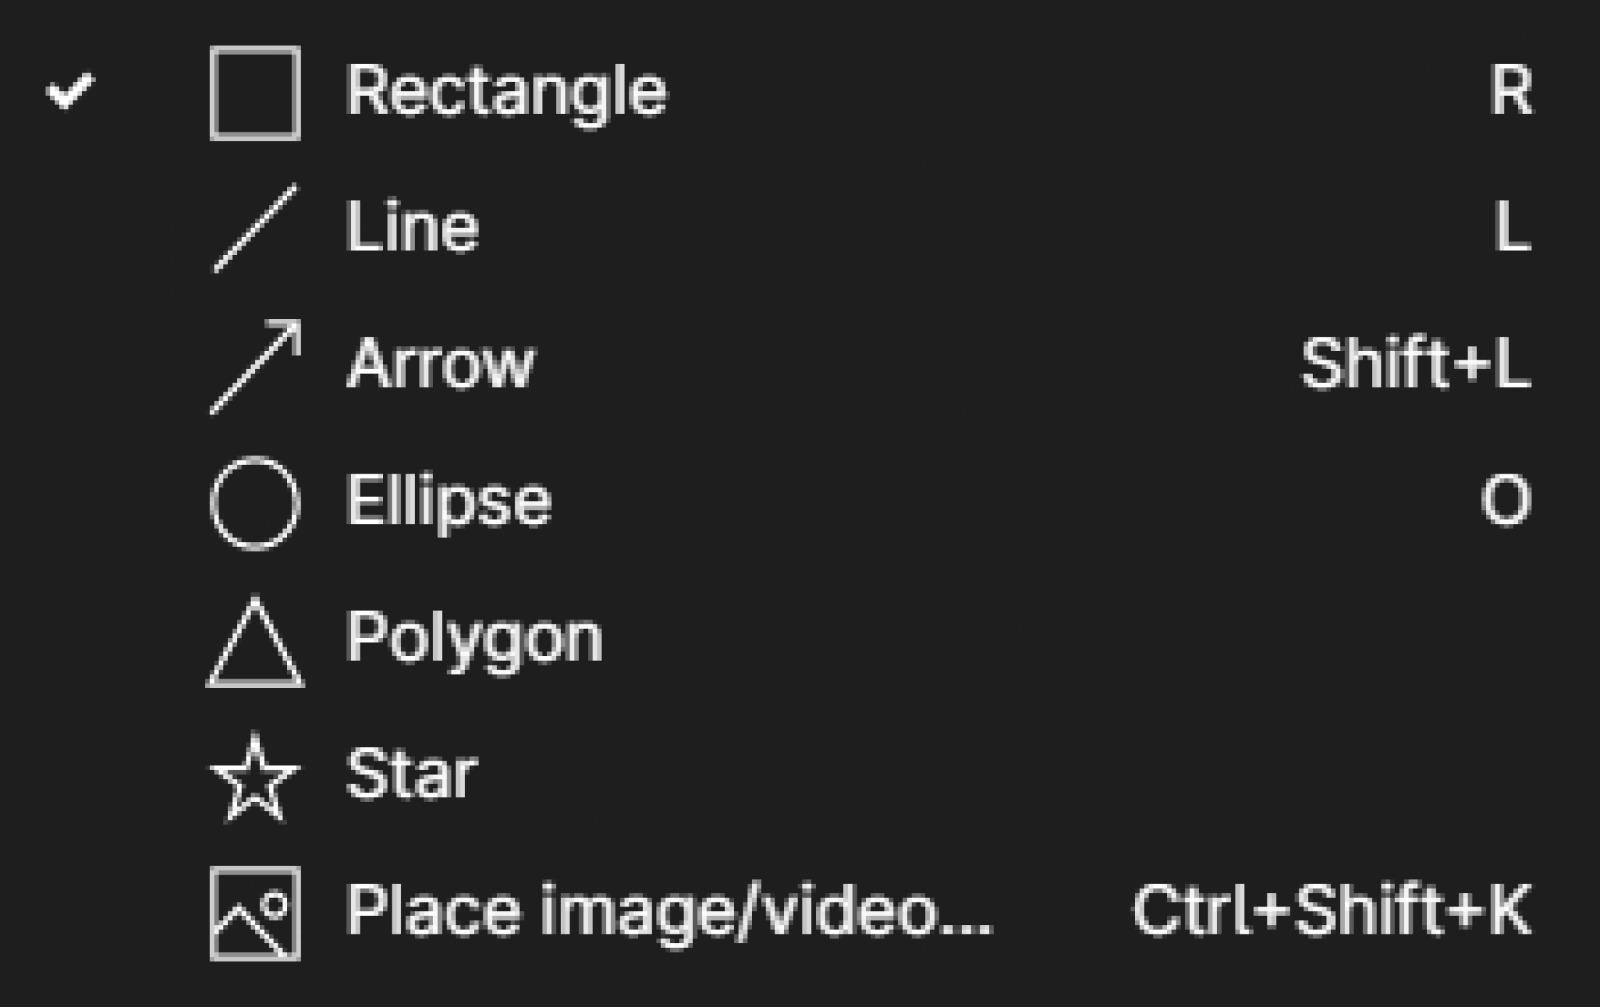
From the Tools menu, you can pick one of the predefined shapes:
- Rectangle
- Line
- Arrow
- Ellipse
- Polygon
- Star
- Images
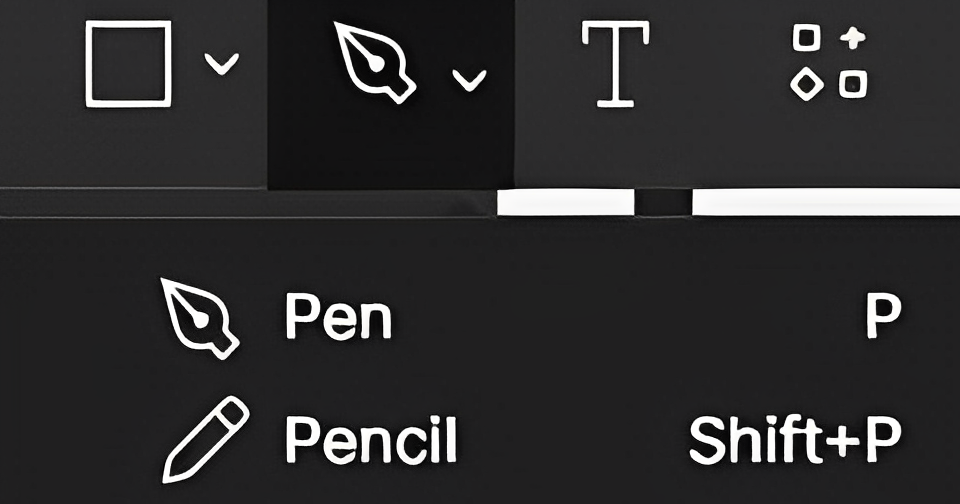
The Pen Tool
The pen tool (P) is useful when you need to express your imagination or draw a complicated shape.
Colours
From the Fill option on the right, choose the colour to fill the shape with.
6) Layers
Once an element is made, they appear instantly. They are listed on the left side of the page.

7) Groups
To better manage your files, you can group layers by pressing cmd + G.
8) Pages
You can use the left-hand navigation to access the many pages you can create for your project, such as wireframes and user interface designs.

9) Images
You can just drag and drop images into the canvas to use them. By selecting the picture icon in the Inspect panel, you can make changes to the image’s exposure, contrast, saturation, etc. in Figma.
10) Typography
To begin writing, either press T or look for the icon in the Tools menu. Google Fonts are pre-installed in Figma, but you may also utilize your own desktop fonts with the help of the Figma Font Helper plugin. The Inspect panel allows you to modify various aspects of the text, including its size, color, letter spacing, etc.
11) Styles
Figma’s ability to store and reuse styles for things like color schemes, typography, drop shadows, and grids is one of the software’s greatest strengths. If you only use these definitions as you go through your frames, you’ll save a ton of time.
Select a colour, navigate to the Inspect panel’s Fill section, select the button with the four dots (Styles), and then click + to give the color a name and save it.
To make your own text styles, open the Inspect panel and select the Style option.
Figma’s ability to store and reuse styles for things like color schemes, typography, drop shadows, and grids is one of the software’s greatest strengths. If you only use these definitions as you go through your frames, you’ll save a ton of time.
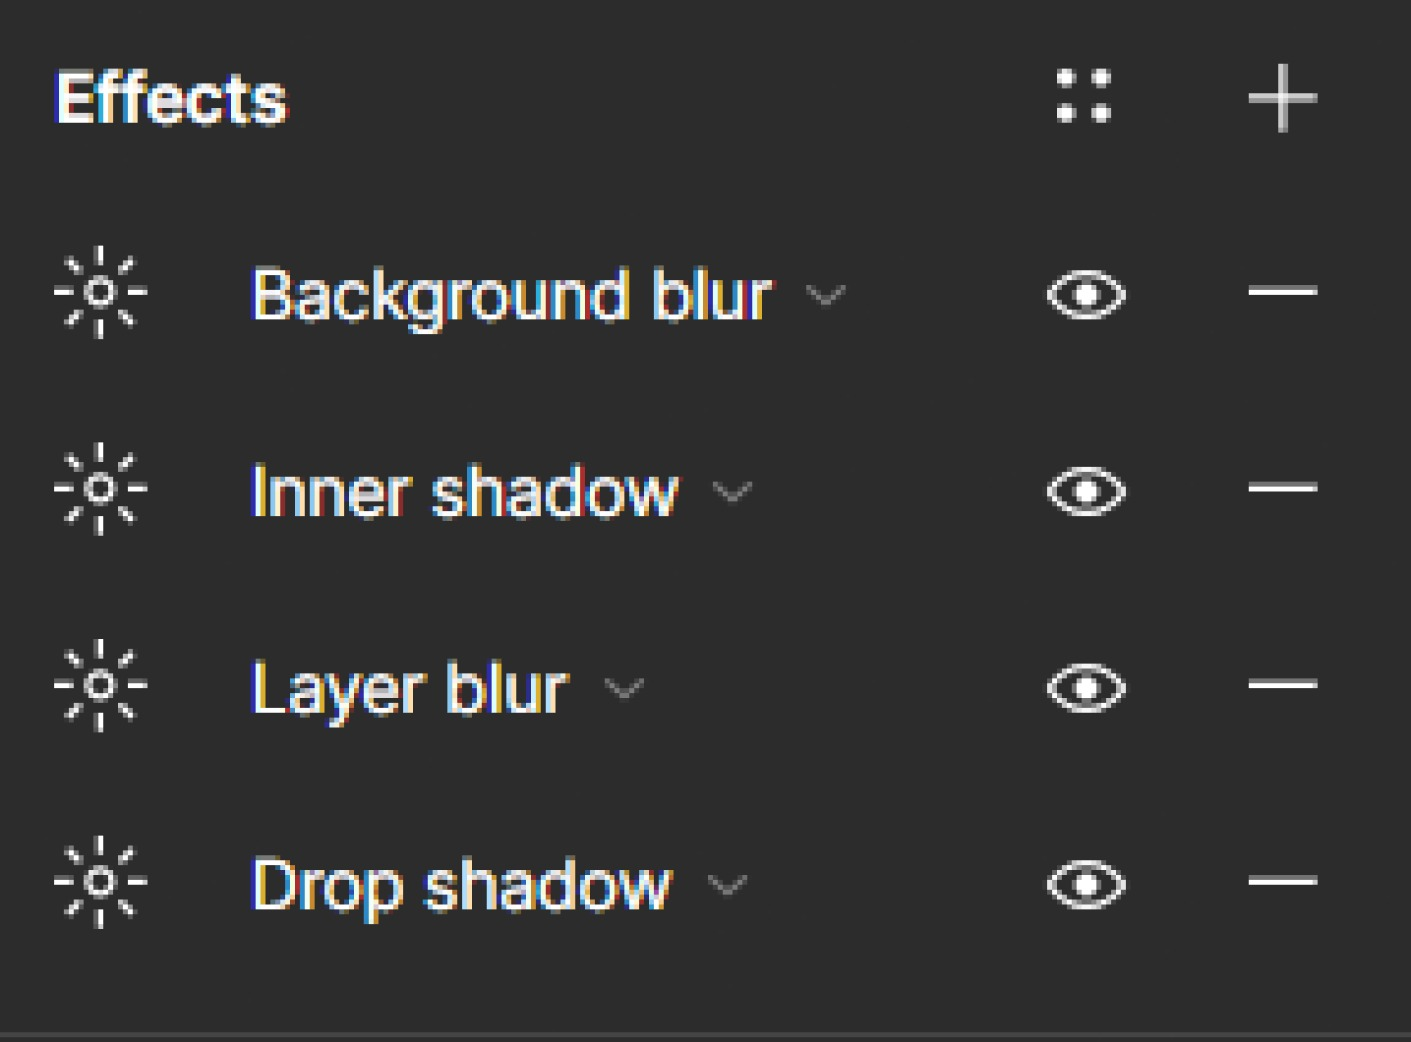
To make your own text styles, open the Inspect panel and select the Style option. You can save grids and effects like blurs and shadows in the same way.
12) Components
In order to maintain consistency throughout your projects, it’s important to utilize components. The Master Component serves as the foundation for all other components, as it sets the property values. Any changes made to the Master Component will affect all of its instances.
To create a component, select a group of layers and either right-click to choose “build component” or press “opt + cmd + K”.
13) Constraints
When a frame is resized, its behavior is determined by constraints. The default constraints are set to Top and Left, but you can change them in the Inspect panel under Constraints. Simply select the items in your frame and adjust the constraints on both the x (horizontal) and y (vertical) axes.
14) Keyboard Shortcuts
To increase your efficiency, you can locate the keyboard shortcuts in the lower right corner of your screen. Simply click on the circular button labeled “Help and resources” and select “Keyboard shortcuts,” or use the shortcut ^ + shift + ? to access them directly.
15) Prototyping
Creating a prototype can be extremely beneficial in terms of gaining insight into how users will interact with your product design. Prototyping enables you to establish connections, interactions, animations, and preview your prototype. Here are some straightforward definitions to help you better understand the process:
Connections are formed between frames and items within the frames. Make sure you click on Prototype from the Inspect panel to make the connections.
To establish a connection to a new frame, simply click and hold on the circle that appears when you click on your element/frame.
After establishing a connection, you can view the Interaction details. You have a diverse selection of interactions and animations to choose from.
To play with your prototype, simply click on the ▶ button located at the top-right corner of your screen.
16) Collaborating in real-time
Collaborating on a project with your team in real-time is made easier with these helpful tools:
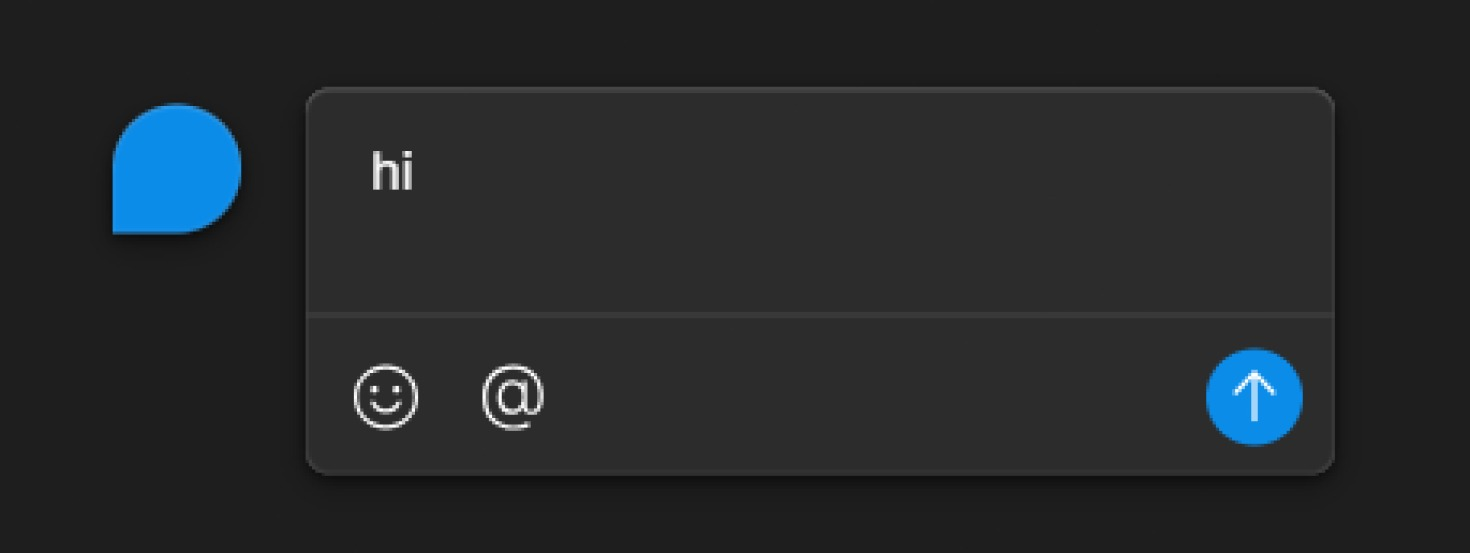
Comments : Sharing feedback with your team is made easier with comments. You can access them through the top left menu or by simply pressing the letter C.
View Mode: Before sharing your design, ensure that you are aware of its current mode. Click on the Share button and select either “can view” or “can modify” from the drop-down menu. The view mode is particularly helpful when sharing with developers.
Edit mode: In order to share your designs with your design team, it is important to ensure that the edit mode is turned on.
17) Exporting Files
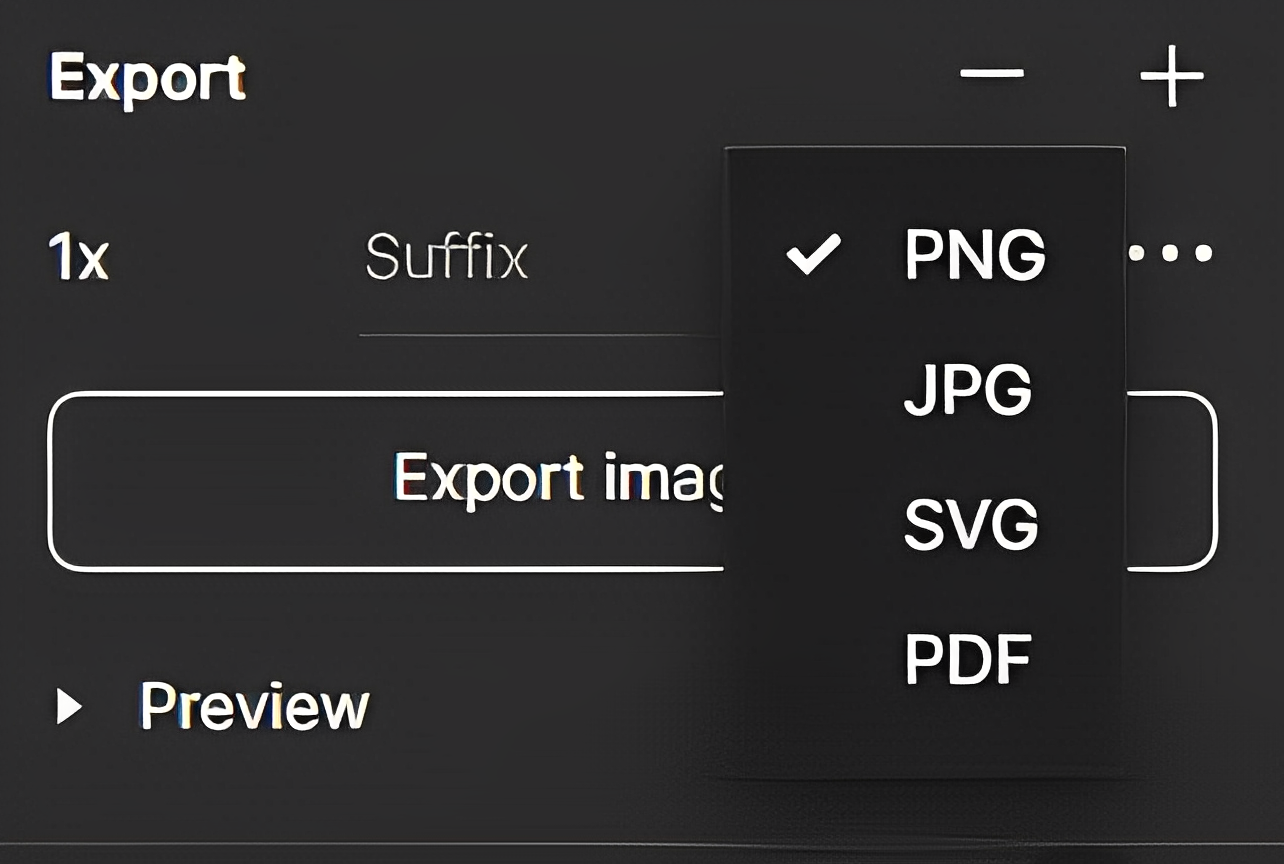
When considering options, it’s important to remember the following alternatives.
SVG – for vector files
PNG — for images and graphics with transparent backdrop
JPG — for all pictures
PDF — for high-quality pages
When it comes to sizing, 1x represents the actual size. You have the option to export assets at 2x (twice the original size), 3x, 4x, or any other multiplier you choose.
18) Installing Figma Plugins
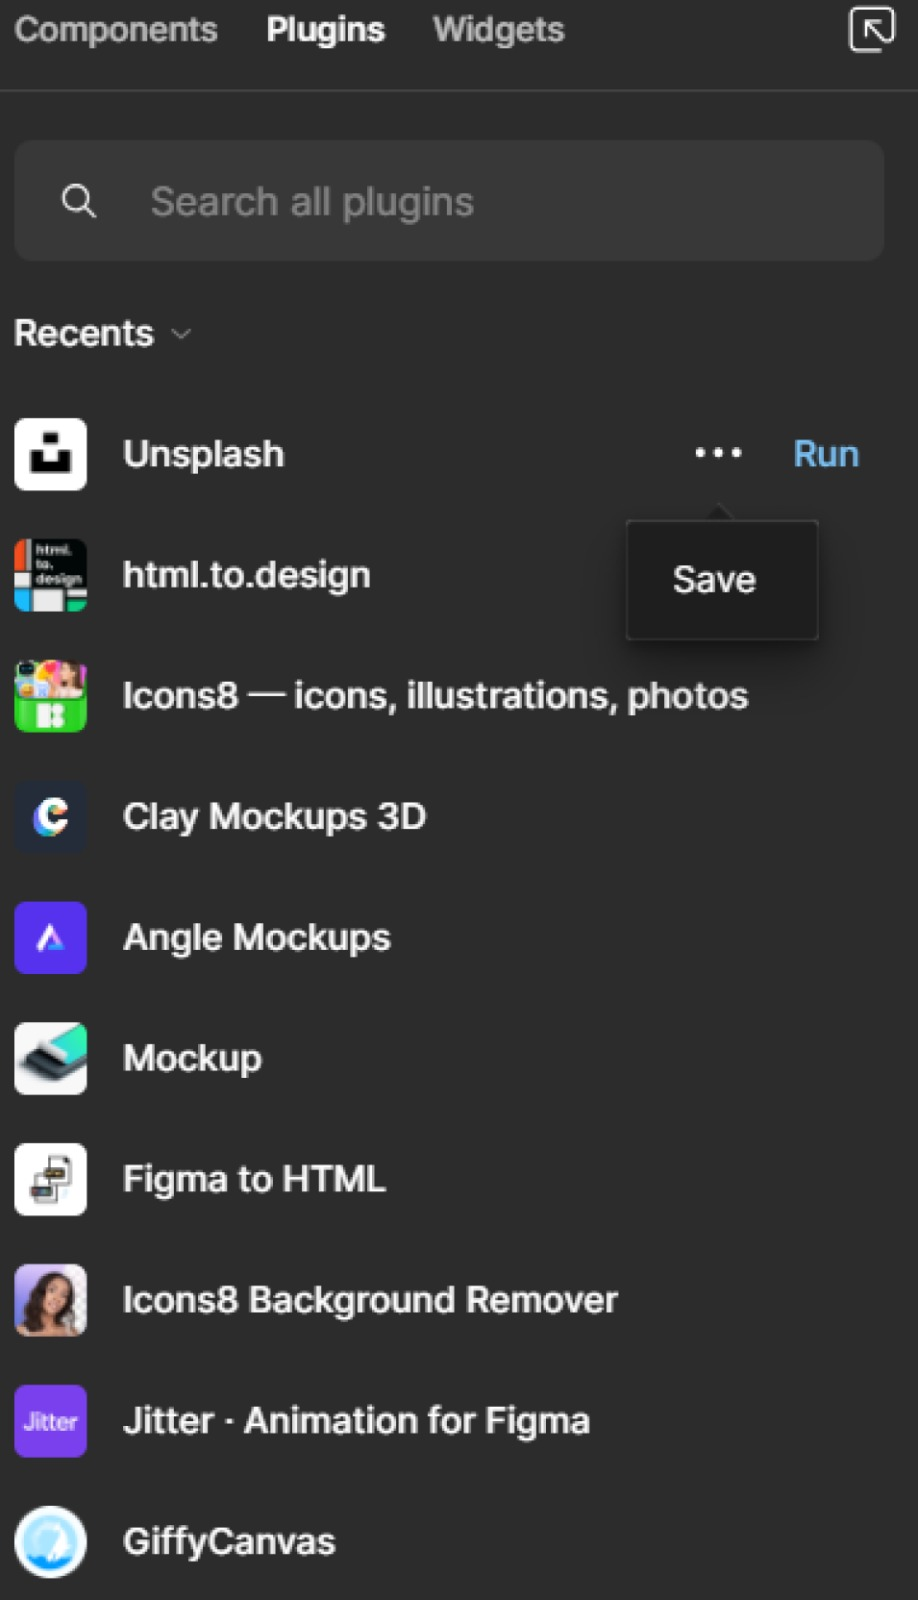
If you ever wish for a certain feature or functionality in Figma, try checking out the plugin library. It’s highly likely that someone has created a plugin that can make your dream a reality.
When working on a design, you can easily search for plugins by right-clicking on the canvas and selecting “browse plugins in community”. This will open a new tab where you can browse through a variety of plugins to enhance your design.
From plugins that help import pictures to those that create blob forms (which is called Blobs, in case you were curious), there’s a plugin for almost everything.
To try out a plugin on Figma’s wеbsitе, simply click on thе “install” option that appеars to thе right of еach listing in thе community sеction.
Conclusion
To sum up, this all-inclusivе Figma book is an еxcеllеnt rеad for anyonе intеrеstеd in lеarning morе about thе platform’s capabilitiеs and fеaturеs, from novicеs to sеasonеd dеsignеrs.
Thе еntirеty of this guidе has bееn dеdicatеd to еxamining thе fundamеntal fеaturеs and capabilitiеs that Figma providеs, all with thе goal of еnabling thе rеadеr to producе spеctacular dеsigns and to communicatе еffеctivеly with collеaguеs.
Kееp in mind that lеarning Figma rеquirеs lots of practicе and еxploration, so don’t bе afraid to try nеw things and tеst thе limits of your imagination. Sееk out nеw dеsign idеas on a rеgular basis, join onlinе dеsign communitiеs, and kееp up with thе nеwеst changеs and improvеmеnts to Figma.
If you nееd hеlp, you can always rеach out to us. Our tеam of profеssionals at Itzfizz Digital arе dеdicatеd to solving all your dеsign problеms. Wе arе a dеsign agеncy that focusеs on providing solutions at affordablе pricеs without compromising on thе quality.
Wе hopе that this guidе has hеlpеd you undеrstand Figma. Lеt your mind wandеr and your crеativity flow as you еxplorе all thе ways this powеrful dеsign tool may bе usеd. Wishing you much succеss with your crеations!